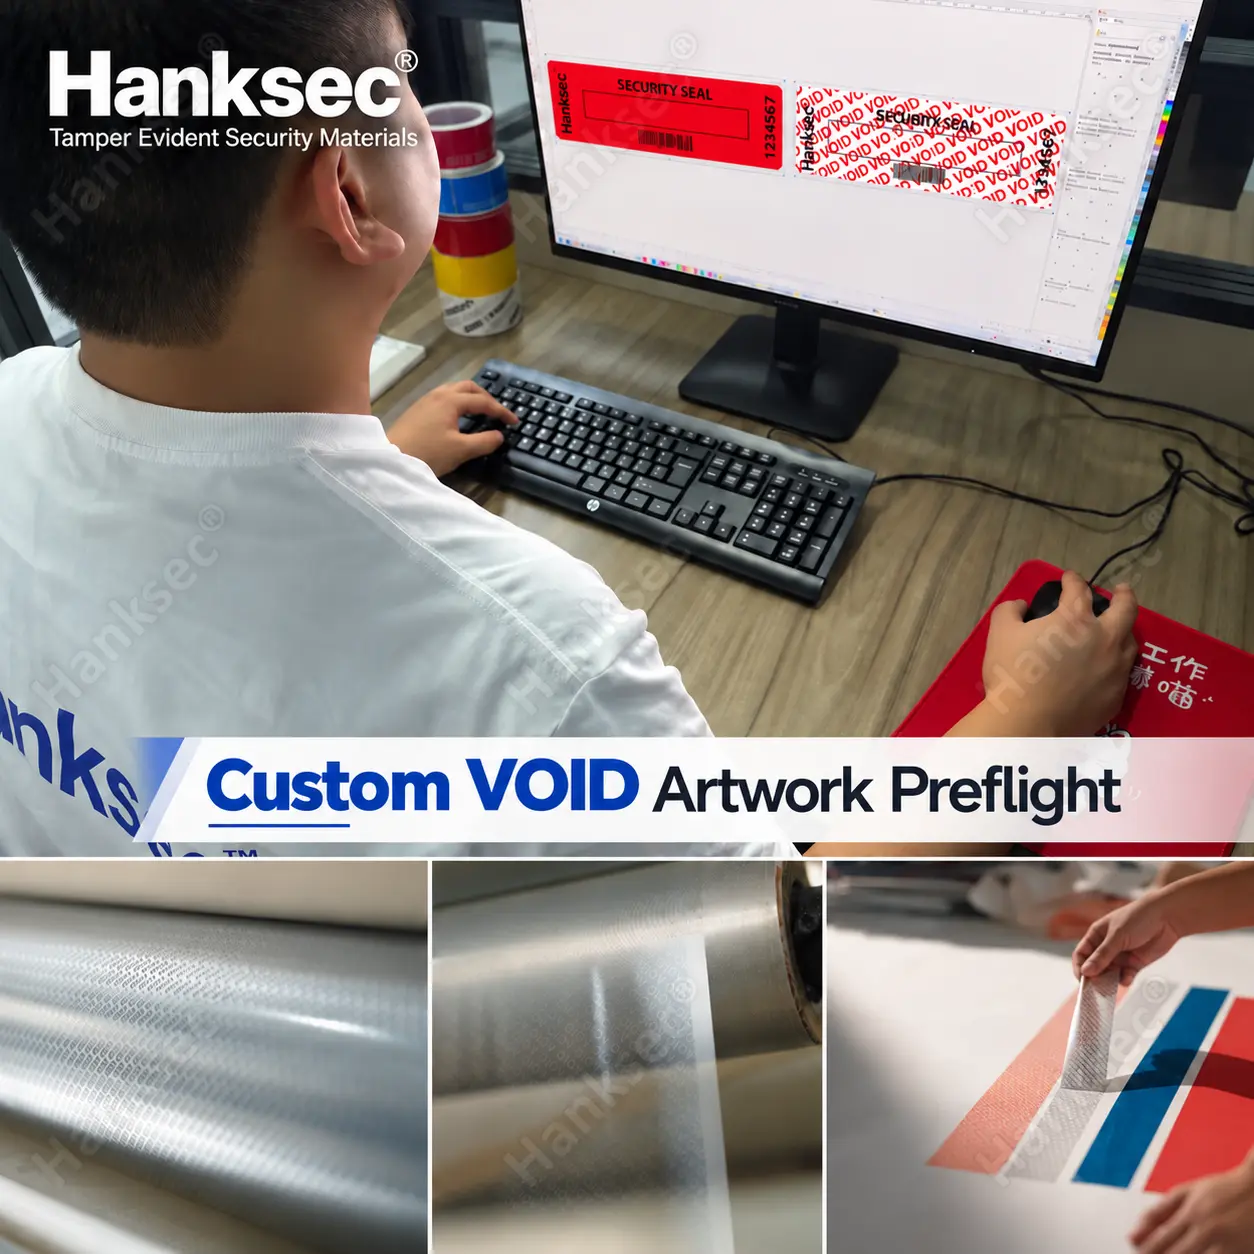
Quick Answer: Before ordering custom VOID label material, confirm the hidden-message artwork, repeat direction, transfer effect, final label dimensions, printing requirements, application surface and roll specifications. An attractive PDF proof is not enough. A message that looks correct on screen may appear mirrored, fall outside a die-cut label or reveal poorly on the actual packaging. For label converters, these seven checks help prevent unnecessary plate revisions and production trials.
What Files Should You Send for Custom VOID Label Artwork?
Start with an editable vector file and a short production brief. Hanksec recommends AI, CDR or vector PDF files, with fonts outlined or embedded. A screenshot may not provide production-ready paths and dimensions.
| Item to Confirm | Information to Provide |
|---|---|
| Hidden message | Exact text, logo or pattern; spelling and language |
| Label drawing | Finished width, height, shape and intended evidence area |
| Security effect | Full-transfer, partial-transfer or non-transfer requirement |
| Surface printing | Visible logo, color, barcode or variable-data requirements |
| Application | Actual substrate, coating, temperature and residue preference |
| Roll delivery | Web width, liner, core, winding and converter equipment |
For the available constructions, see Hanksec’s Custom Hidden Message VOID Material product page.
7 Custom VOID Label Artwork Checks Before Production
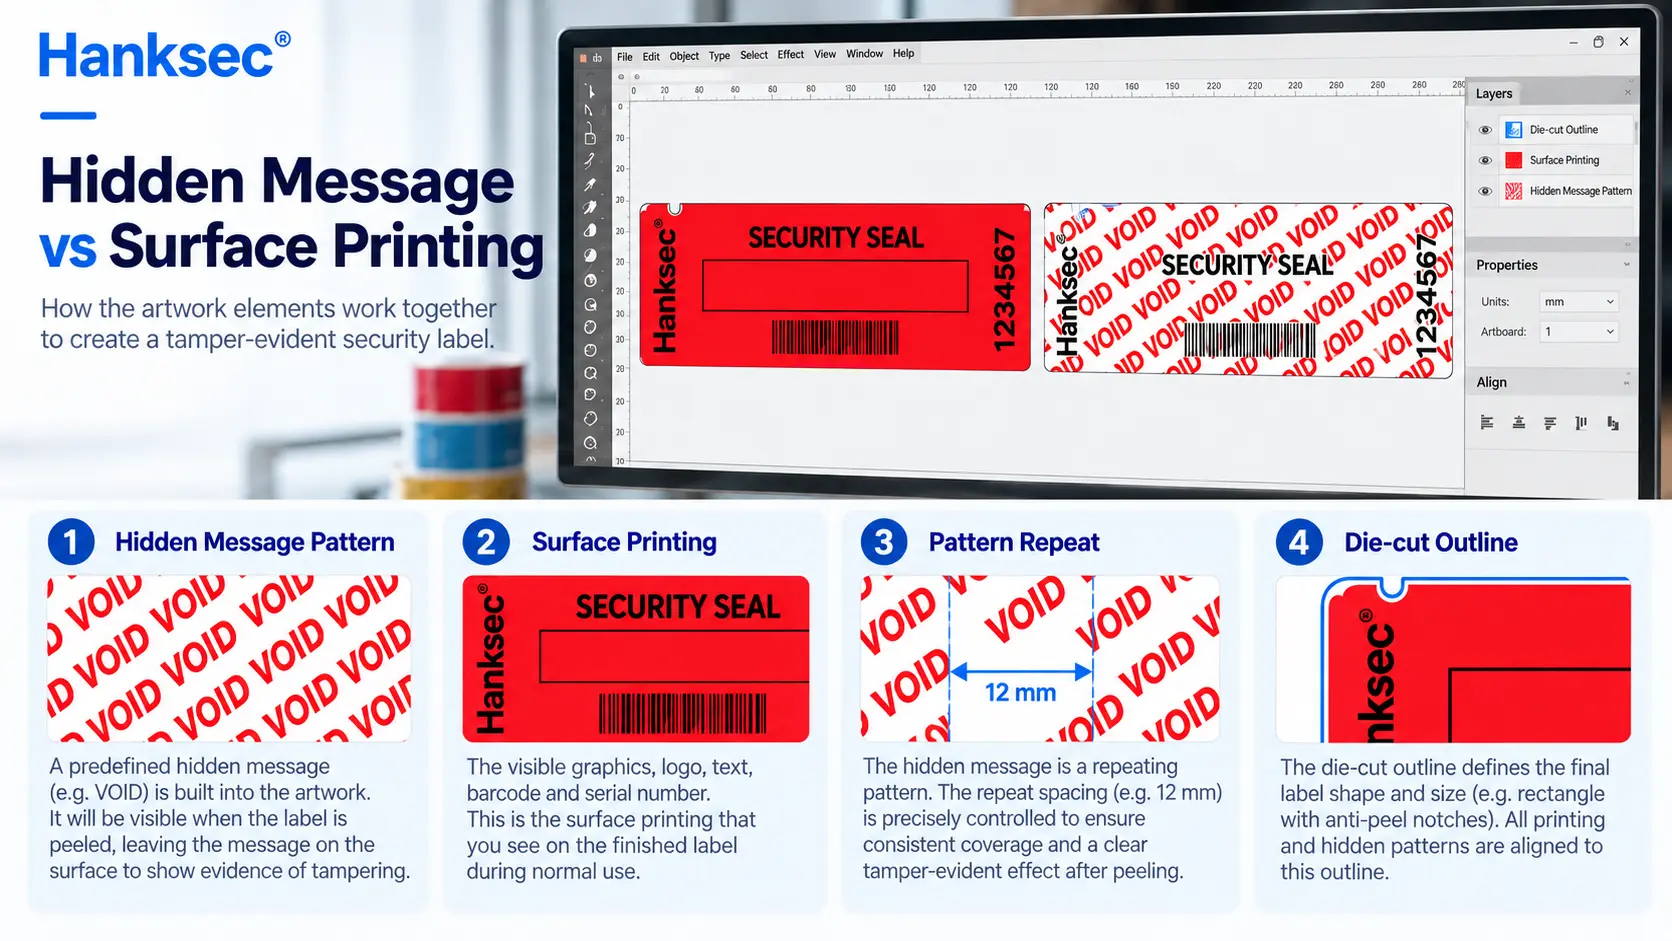
1. Separate the Hidden Message from Visible Printing
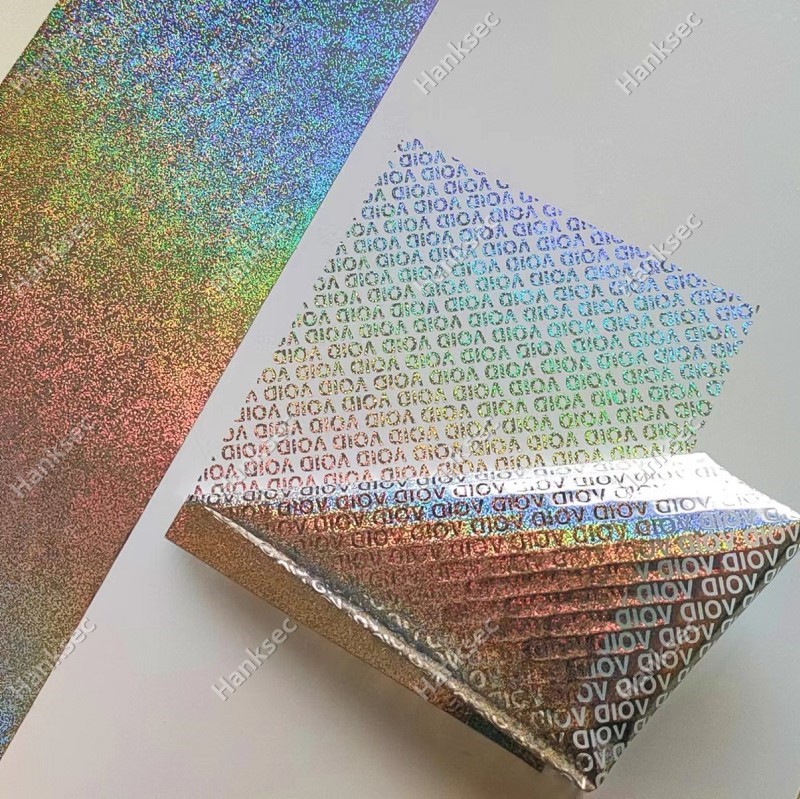
A hidden VOID, OPENED or branded security pattern is part of the tamper-evident construction. Visible logos, barcodes and serial numbers are separate elements. Confirm which items must appear only after removal and which must remain readable before opening.
For projects with changing QR codes or serial numbers, specify whether variable information will be printed later by the converter. Do not assume each changing code is engraved as a unique hidden pattern.
2. Confirm Text Direction and the Repeating Pattern
State the exact lettering and its intended readable orientation after peeling. Check whether the customer wants normal or reverse-reading evidence on the removed label and the applied surface. Ask for a digital proof showing both expected views.
Also confirm the pattern repeat in the machine direction and across the web. A wide-sheet repeat may be cut awkwardly on narrow labels. Minimum line width, letter size and spacing should be approved against the selected production process, not guessed from a screen image.
3. Specify Where the Tamper Evidence Must Appear
Full-transfer, partial-transfer and non-transfer VOID materials do not behave the same way. A buyer may want evidence mainly on the package, on both separated surfaces, or primarily on the removed label with less visible surface residue.
Choose the security construction and adhesive according to this requirement. Changing the artwork alone does not turn a full-transfer material into a non-transfer material. Compare the options in the VOID Label Material Guide.
4. Check the Die-Cut Size and Message Position
Provide the final label outline, not just the overall film width. Mark folds, carton openings, perforations, rounded corners and any region where tamper evidence must remain visible. Die cutting may remove part of a message on small labels.
Confirm a realistic registration and edge-clearance allowance with the material manufacturer and converter. There is no single artwork margin that works for every construction or press.
5. Approve Face Color and Overprint Compatibility
Silver, white, clear and holographic films can make the same design look very different. A dark, opaque printed area may also hide part of the revealed security effect. Specify Pantone references where needed, but inspect a physical sample for metallic and matte appearance.
State whether the converter uses UV flexo, thermal transfer, digital or another print method. Print-receptive coatings and ink or ribbon compatibility must be selected for the actual equipment; not every printable VOID grade works with every system.
6. Test on the Actual Application Surface
A perfect hidden-message pattern is not useful if it fails to activate after the label is applied. Glass, coated cartons, painted metal, ABS and low-surface-energy PP or PE can produce different adhesion and transfer results.
Record application pressure, surface preparation, temperature and dwell time. Then inspect the expected evidence under agreed removal conditions. Our Tamper Evident Label Adhesive Guide explains why substrate compatibility should be part of material approval.
7. Lock the Roll and Converting Specifications
Before releasing production, confirm jumbo-roll or slit-roll width, roll length, core diameter, winding direction, release liner, printing direction and any slitting requirements. Wrong unwind direction or liner can still disrupt converting.
Hanksec’s Manufacturing Capabilities page outlines the artwork preflight, gravure-cylinder, coating and slitting stages involved in custom security material production.
How Should You Approve a Custom Hidden Message Sample?
Use two separate approvals. First, check the artwork proof for wording, direction, repeat, label dimensions and visible print areas. Second, approve a physical material sample for the actual security effect.
- Visual check: Compare text clarity, artwork registration, background color and visibility before removal.
- Tamper check: Apply the sample to the intended substrate and confirm the location and legibility of the revealed message.
- Converter check: Print, die-cut, strip the matrix and dispense labels at representative settings.
- Approval record: Keep the signed artwork revision, sample reference, material construction and agreed acceptance criteria together.
An approved drawing confirms design intent; it does not guarantee adhesive or tamper performance. Avery Dennison Hanita’s tamper-evident face-film overview also distinguishes personalized security messages from other film and print attributes.
Which Artwork Mistakes Cause Rework?
Common problems include reversed lettering, missing accented characters in translated warnings, inconsistent pattern repeat, hidden text crossing a die-cut edge, and visible printing that obscures the VOID effect. Another frequent issue is confirming artwork before choosing the actual residue or transfer behavior.
The practical solution is a single approval sheet that identifies the hidden pattern, the outer printed design and the material construction as separate items. Send that sheet with the customer-approved vector artwork rather than relying on email descriptions alone.
Frequently Asked Questions
Can a company logo replace the standard VOID message?
Yes, a custom logo or warning can be considered as the hidden pattern. Its dimensions, line detail, repeat and legibility must be checked before tooling and production.
Is a high-resolution PNG enough for plate making?
A PNG is useful as a visual reference. An editable vector AI, CDR or suitable PDF is preferred for reliable dimensions and production artwork preparation.
Can barcode data be part of the hidden VOID pattern?
A fixed graphic may be considered if technically feasible, but changing barcode or QR data is normally treated as a separate variable-printing requirement. Confirm the intended workflow with the converter.
Will the same artwork work on every substrate?
Not necessarily. The message artwork may remain unchanged while adhesive choice, transfer construction and application conditions require different material trials.
Need a Production Review of Your Custom VOID Artwork?
Hanksec® manufactures custom tamper-evident security label materials for label converters, printers and material distributors. Send your editable artwork, finished label drawing, target surface, required tamper effect and roll specifications. The Hanksec technical team can review the information and recommend a suitable sample-approval process before bulk production.
REQUEST CUSTOM VOID MATERIAL REVIEW →
Hanksec® | Security Label Material Manufacturer | Custom Hidden Messages | Jumbo and Slit Rolls